Running C# Snake inside UEFI

When I see SeeSharpSnake from Michal Strehovský I was very inspired by possibilities, and that’s again revitalise my interest in CoreRT. So I decide to play with something, which is not my area of expertise. So I decide that UEFI would be fun, who don’t want to play Snake inside Hyper-V? Or maybe from thumbdrive :)
Given the rich nature of the UEFI API, most of work for me was in the porting of the UEFI definitions from C++ to C#, then actual work. Actual porting was consists from 2 parts: creation of UEFI definitions and writing PAL code. Half work was already done by Michal in another inspirational project of him : ZeroSharp. I have to just write slightly more functions. Results were extracted to separate file UefiEnvironment.cs. To be able to reference UEFI services outside of EfiMain function, I created class EfiRuntimeHost
where save EFI_SYSTEM_TABLE passed on startup of application.
After that I can start implementing PAL. See how complicated it was
As you see, most of implementation was just pass by to existing UEFI functions. Writing function for Console was implemented using EFI_SIMPLE_TEXT_OTUPUT_PROTOCOL, Reading keys functions was implemented using EFI_SIMPLE_TEXT_INPUT_PROTOCOL.
Looks at how trivial all implementation was
I just rewrite protocol definition in C# and provide helper functions which pass-through call parameters. Actual calls would be injected by CoreRT compiler, replacing RawCalliHelper.StdCall with actual calls to the protocol methods.
Since we are working with CoreRT, we have truly pay-for-play experience. Since we want messing up with unmanaged pointers to functions, we need to bring RawCalliHelper class to our custom runtime.
Since we start using unmanaged constraint in the generics, we should create special System.Runtime.InteropServices.UnmanagedType class which used by runtime as a marker for constraint
You literally should write code to unlock certain C# features. It’s same pleasure feeling mixed with pain, as writing code for ASP.NET vNext. You have force at your fingertips, and burden of responsibility. Take your poison.
Now it’s time to tie all together and launch our application. Since UEFI is unusual environment, it has it’s own way for launching application.
UEFI pass two parameters from caller code to our application, handle of the image and system table for UEFI. We save system table using EfiRuntimeHost class we create earlier, and just launch existing SeeSharpSnake application using Game.Main() . Additional Console.Clear call is for clearing screen to not touch existing application.
Phew, coding is done. Last step which is left, is massage project file to make it package all stuff together as part of standard publish process. Since we are running without OS, we should disable standard runtime (mscorlib if you like) from using within application.
NoStdLib, NoConfig and RuntimeMetadataVersion are properties which disable inclusion of standard runtime, GenerateAssemblyInfo and GenerateTargetFrameworkAttribute are properties which suppress generation of standard versioning attributes. Since we do not have standard runtime, we have to introduce these standard attributes in our runtime. No point to fatten application 😃. And the last property IlcSystemModule specify name of the module where custom runtime is sitting. In our case this is same application, so we pass name of assembly which we are develop: SeeSharpSnake .
Other important step, is to remove additional assemblies dragged by standard MSBuild tooling for C#. This is removed by custom target CustomizeReference which should be presented in your project file.
Final step to produce executable is to link code. We just need to pass additional parameters to linker and it’s done
Voila, and we have our UEFI application. No it’s time to run it. I will use Hyper-V for that. Below custom target in project file which generate VHDX file for you.
And final polish is to create Hyper-V virtual machine. You can follow instruction in ZeroSharp repository, or just open Windows Terminal or PowerShell and run commands below, after execution of dotnet publish -c Release -r win-x64
Now if you are not sleepy, code here: https://github.com/kant2002/SeeSharpSnake/tree/kant/uefi#run-on-uefi
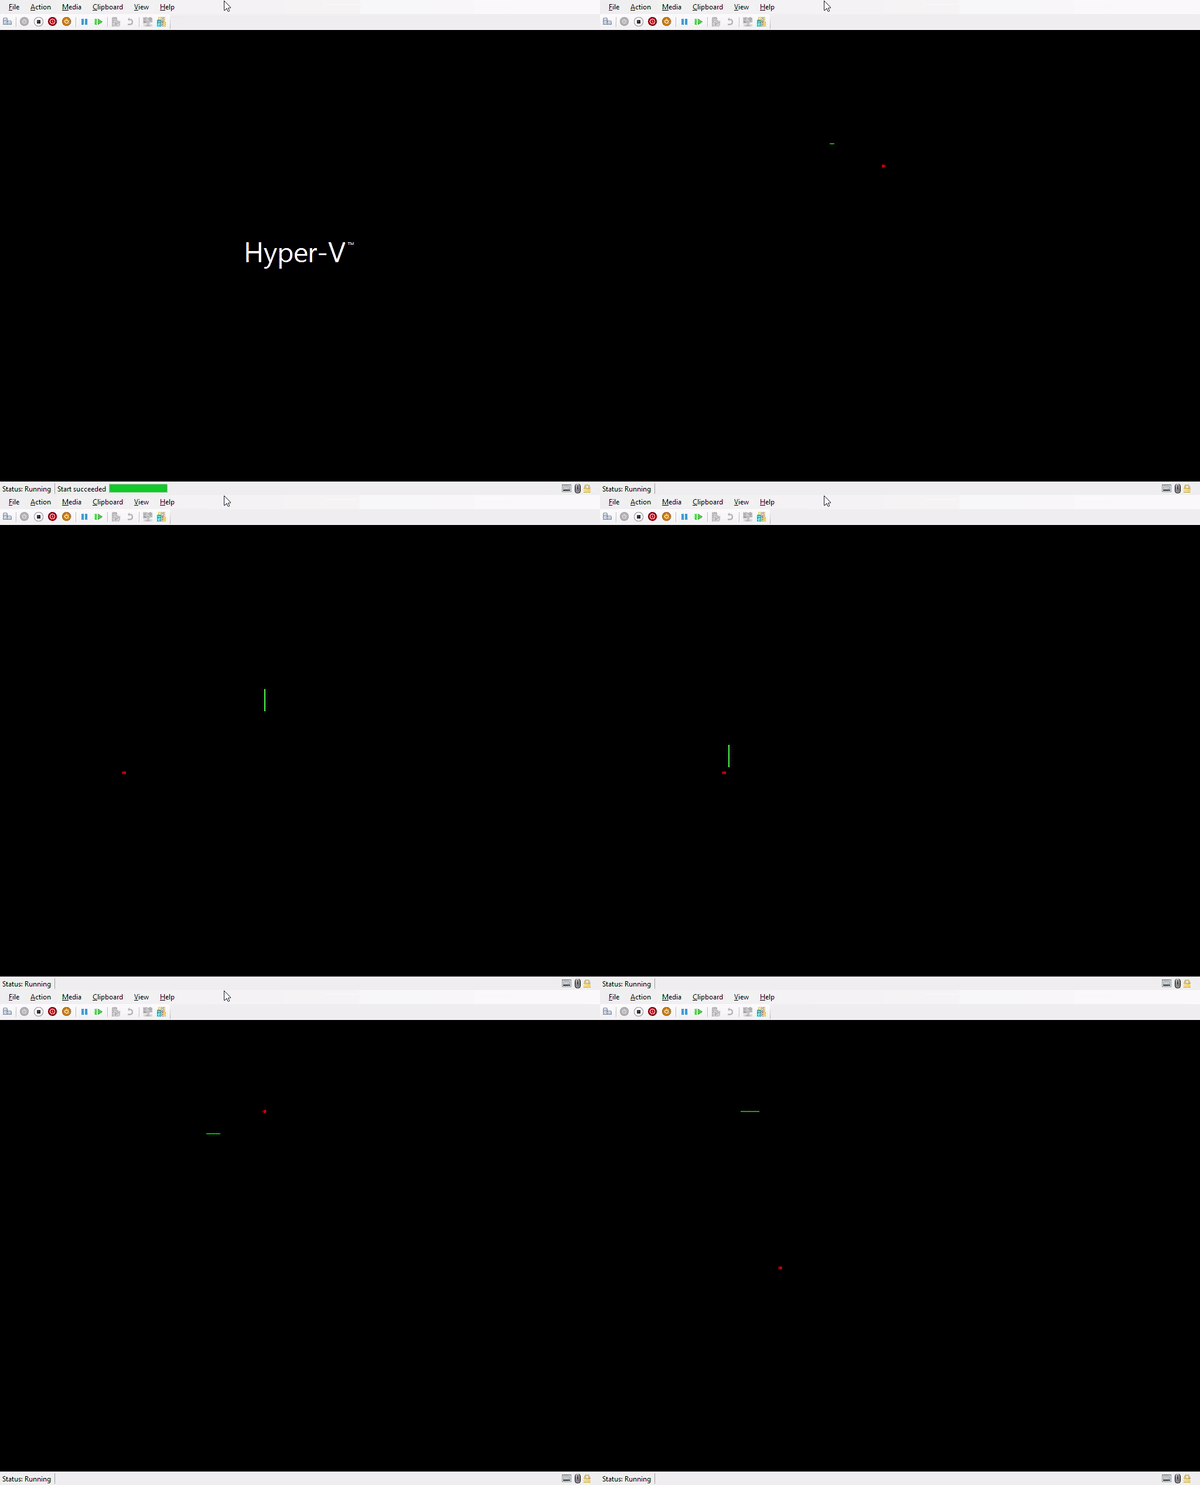
and GIF for seeing how it works.

